 |
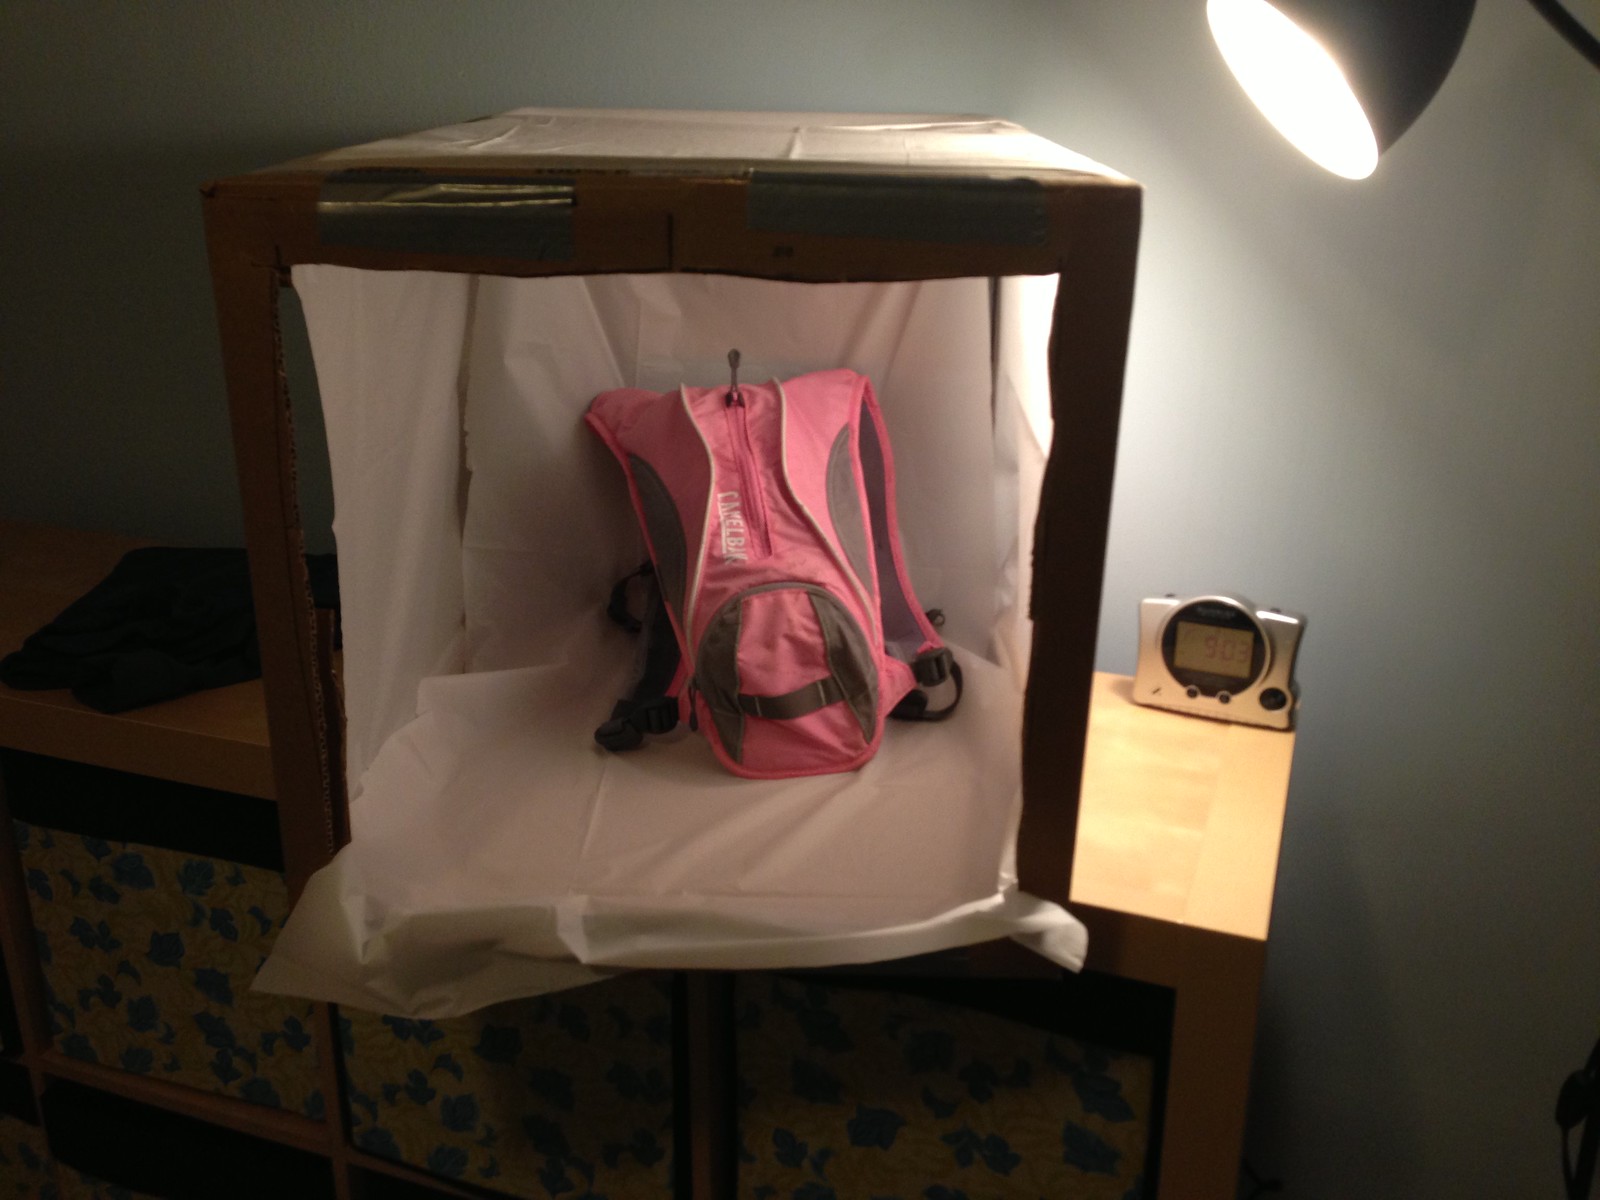
| This is the second try light box. The plastic table cloth just never lay quite right. |

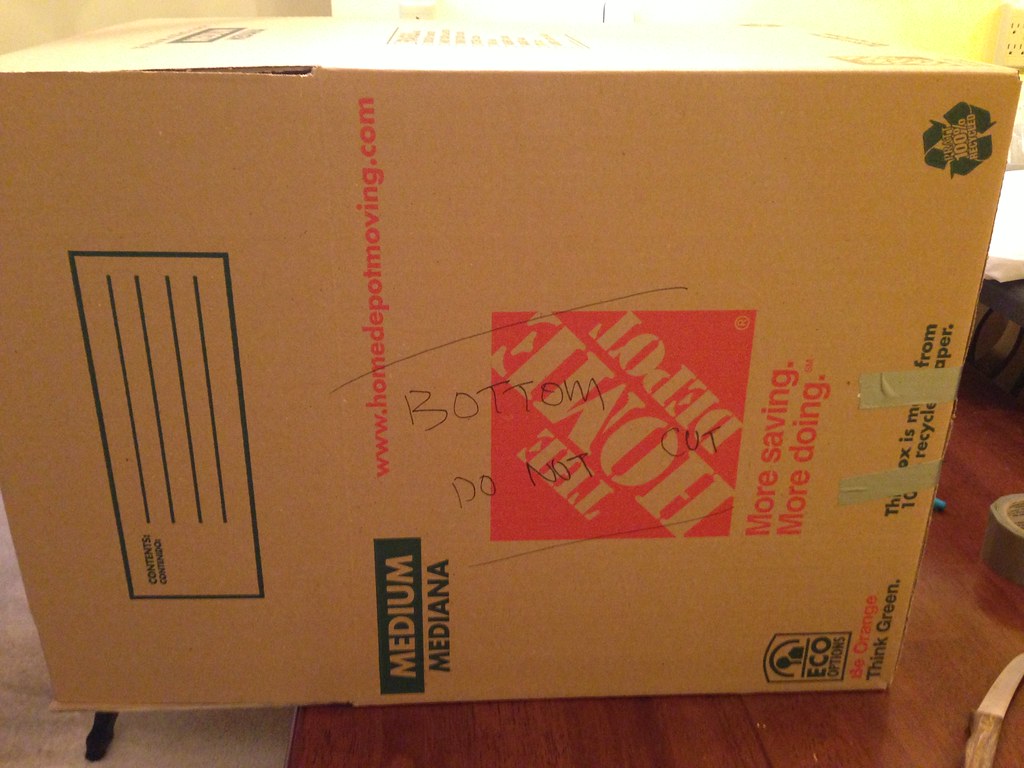
- Medium Cardboard Box or one of a similar size. The boxes that hold copy paper are, in fact, too small. Sorry.
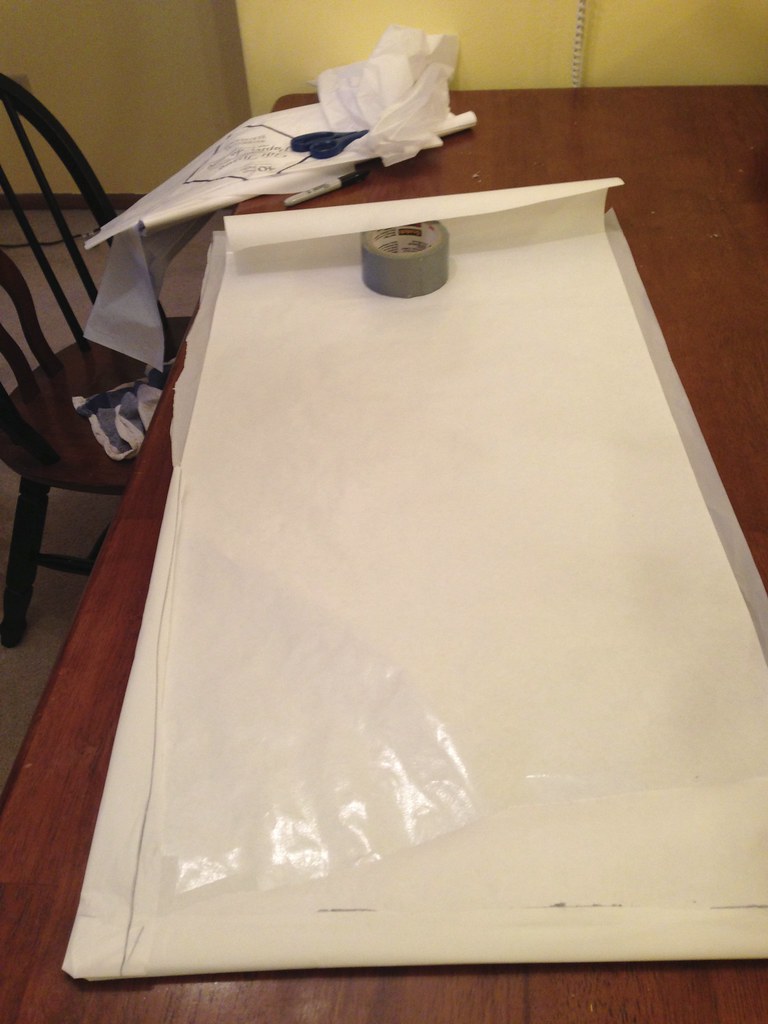
- Tissue paper for the sides and top of the box
- Freezer paper - it seems to be easier to find in large rolls than poster board
- That cheap white table cloth.
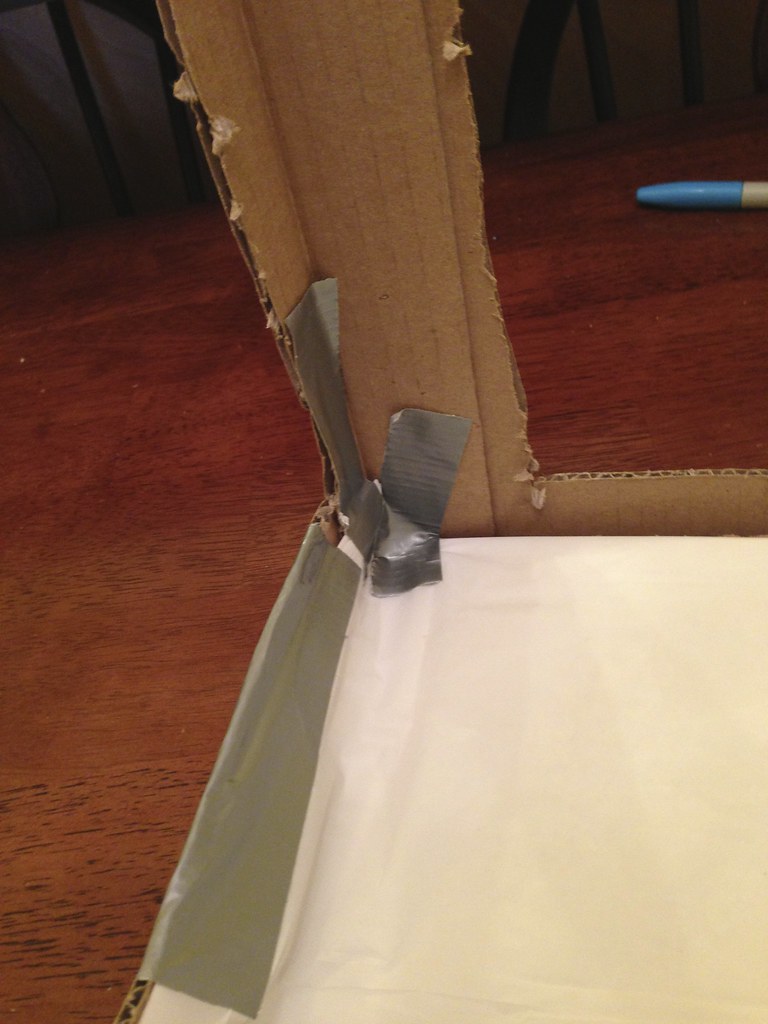
- Duct tape. No project is complete without duct tape.
- Sharpie markers or similar, for writing on the cardboard box and for marking the tablecloth to cut
- A knife that can cut cardboard. Kitchen knives work surprisingly well.
- Scissors for cutting tissue paper and tablecloth
- Clear tape, because duct tape isn't perfect for everything
Procedure: (Taking a moment to thank my 6th grade teacher for drilling into me how to write up an experiment.)
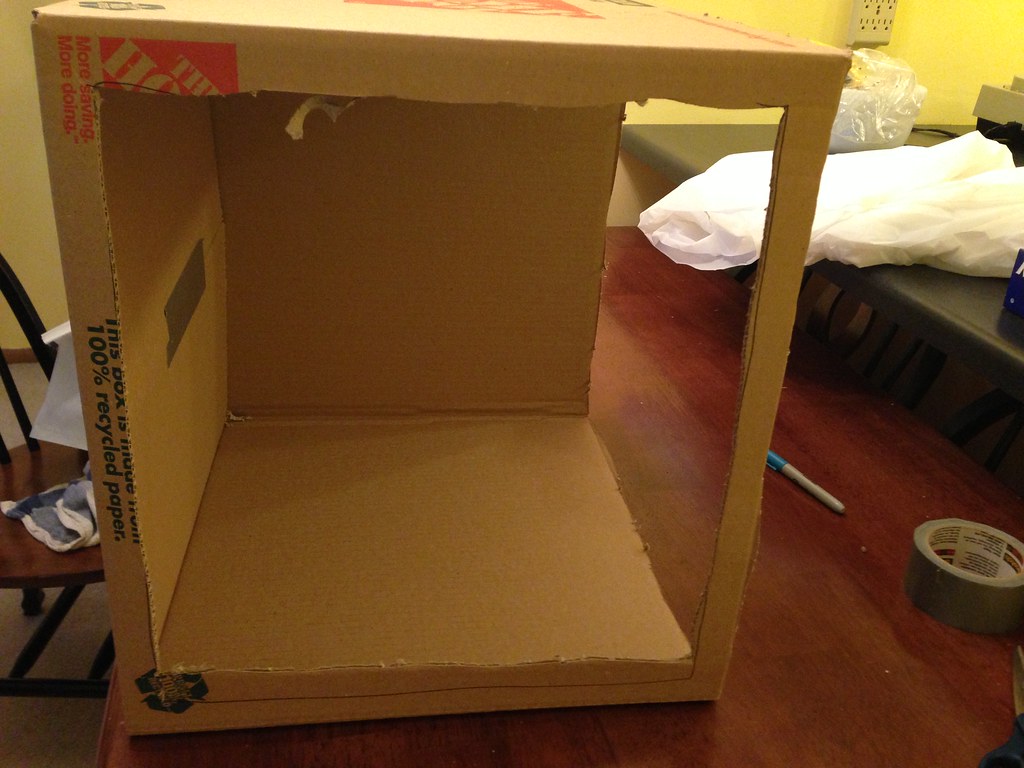
- Put the box together. It's okay to leave one end open.
- Label the all the sides of the box. The back and the bottom don't get cut out but the top and the sides do. The front should already be open.
- Cut the cardboard away from the top and both sides of the box, leaving about an inch framework.
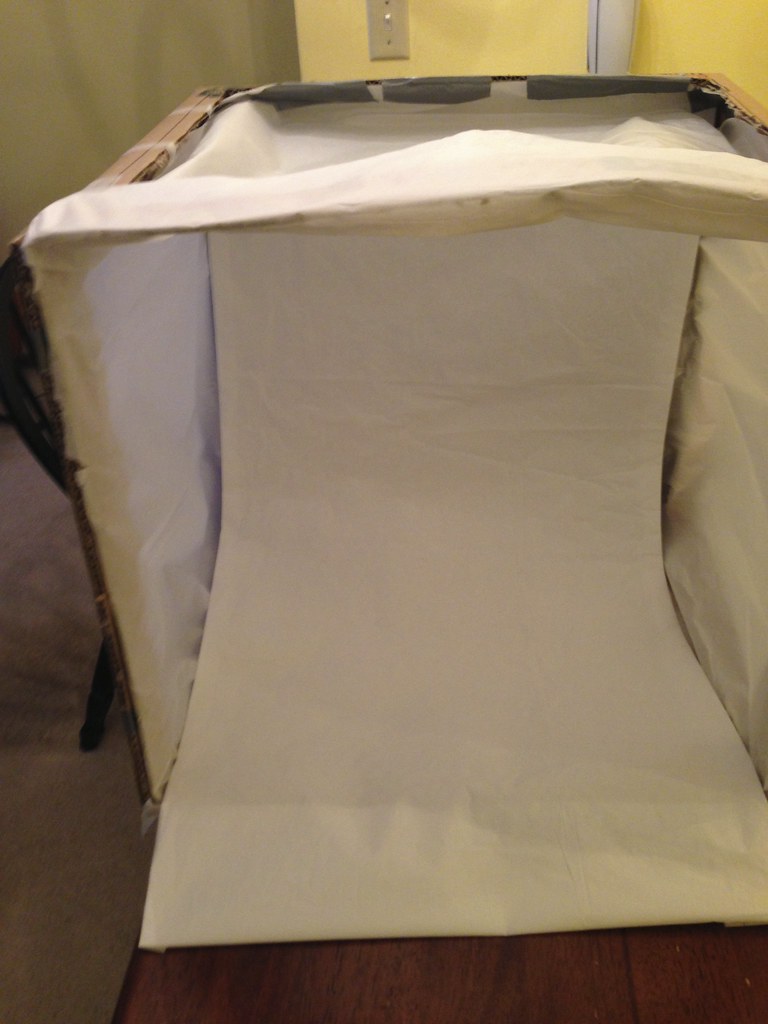
- Measure the freezer paper and cut it so that it covers the back and bottom of the box with no crease.
- Wrap the cheap plastic table cloth around the freezer paper. (You can't believe the crap I put in this box, I need a surface I can wipe off.)
- Attach the freezer paper/plastic to the top of the box, so that it drapes down the back and the bottom. I used duct tape for this operation.
- Attach tissue paper to the sides and top of the box. Make your own decision about attaching the tissue paper first versus attaching the backdrop first. I did it both ways in my various attempts.
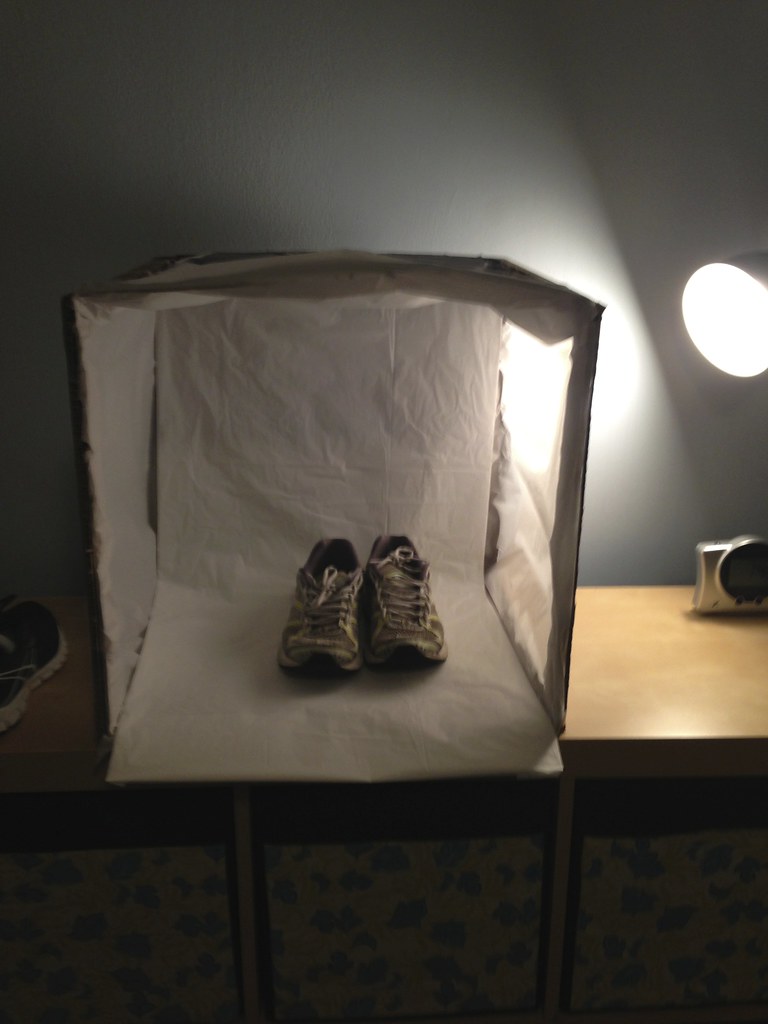
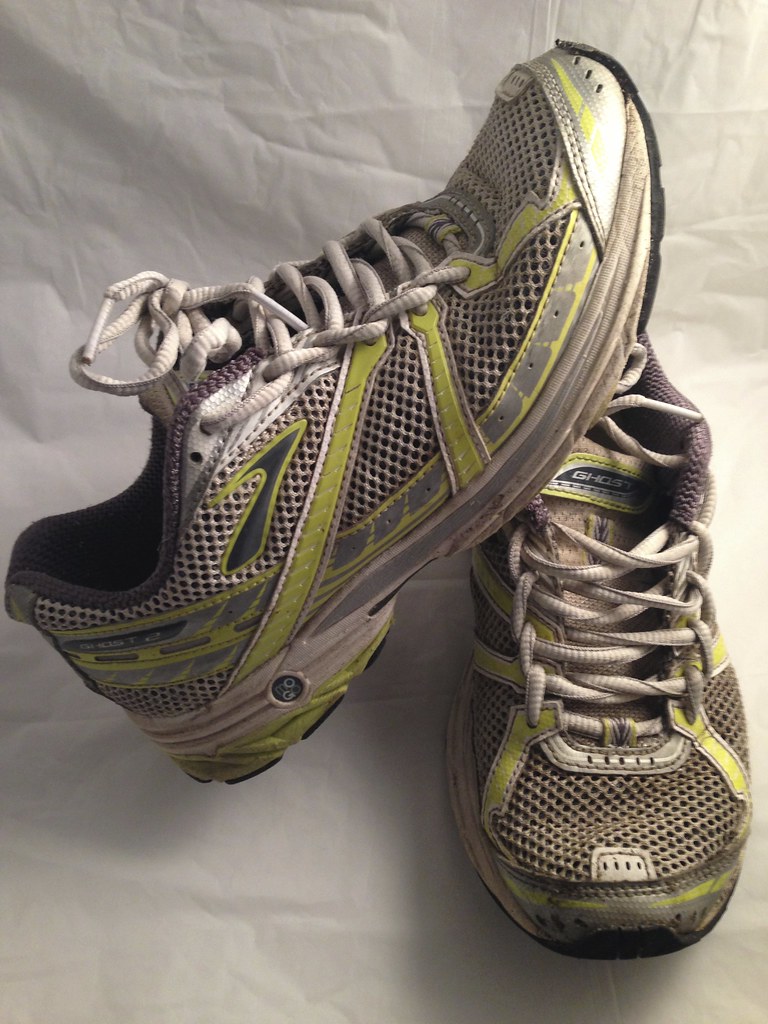
- Use a window or lots of lamps or another light source and take lots and lots and lots of pictures!
No comments:
Post a Comment